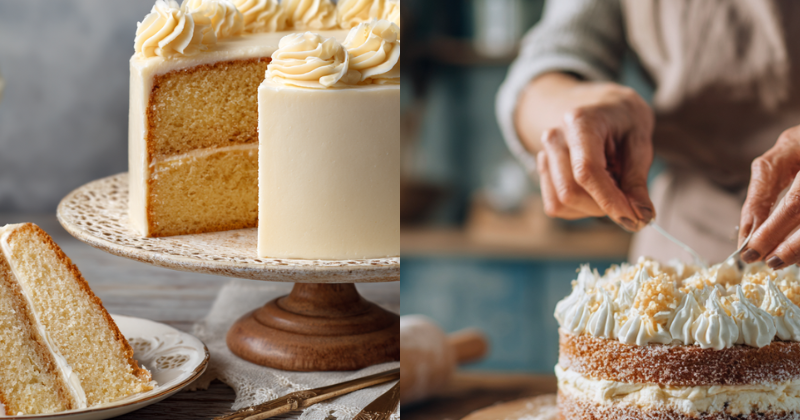
Some recipes do not need reinventing. They need one honest look.
The vanilla cake most people make is fine. It is the word fine that became the problem. After years of the same result — pleasant, soft, a little forgettable — three specific changes produced something people asked about. Not because the cake became complicated, but because it became more itself. This revised vanilla cake recipe is built on those three changes, explained here so you can apply them and understand why they work.
Prep time: 20 minutes | Bake time: 30–35 minutes | Total time: 1 hour (plus cooling) | Servings: 12–16
What Makes It Worth Making
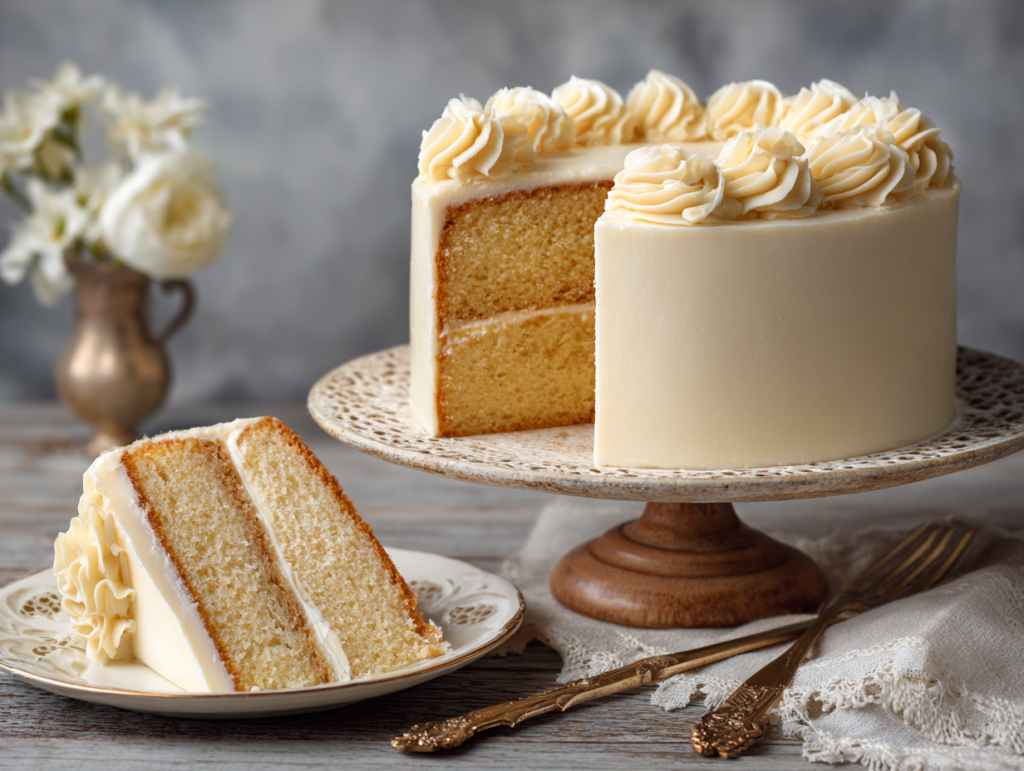
- The crumb is noticeably different from a standard vanilla cake — tighter, more tender, with a flavor that holds up past the first bite.
- The changes are small. Brown butter, cake flour, and an extra yolk. Nothing exotic or difficult.
- It keeps well. The cake stays moist for three days at room temperature, which makes it practical for events made ahead.
- Vanilla is allowed to be the point here. The adjustments amplify it rather than compete with it.
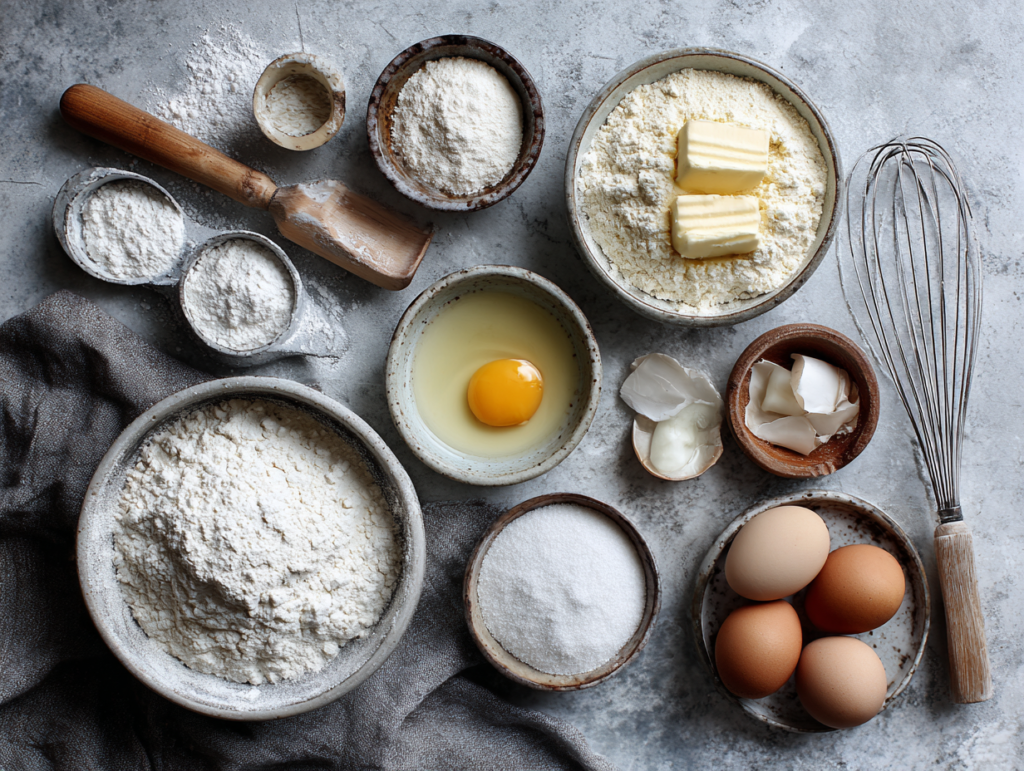
The Ingredients
Cake flour, 2 and three-quarter cups: The first change. All-purpose flour produces a serviceable vanilla cake. Cake flour — lower in protein, more finely milled — produces a crumb that is genuinely tender in a way all-purpose cannot replicate. Substitution: for every cup of cake flour, use three-quarters cup all-purpose plus two tablespoons cornstarch, whisked together. The result is close but not identical.
Unsalted butter, 1 cup (2 sticks), browned: The second change. Brown butter — cooked past melted into nutty, amber, and fragrant — adds a depth of flavor that plain melted or creamed butter does not contribute. It takes five additional minutes and changes the character of the cake entirely. Cool it to room temperature before using so it does not cook the eggs on contact.
Granulated sugar, 1 and three-quarter cups: Standard quantity. Sugar here does more than sweeten — it retains moisture and creates the tender crumb alongside the cake flour. Do not reduce it without understanding that the texture will change.
Eggs, 3 large plus 2 additional yolks, room temperature: The third change. The extra yolks add fat, richness, and color. They make the cake taste like it has more butter without adding more butter. Room temperature is not optional — cold eggs break the emulsion between fat and sugar.
Whole milk, 1 cup, room temperature: Moisture and structure. Whole milk produces a better crumb than low-fat. Substitution: full-fat buttermilk adds a subtle tang and slightly tighter crumb — both are correct depending on preference.
Sour cream, half cup: The moisture insurance in this vanilla cake recipe. Sour cream adds fat and acid, both of which tenderize the crumb and prevent the cake from drying out over multiple days. Plain full-fat Greek yogurt substitutes directly.
Pure vanilla extract, 1 tbsp: More than most recipes call for. Vanilla is the point. Use a good extract — one where vanilla bean is the primary ingredient, not « artificial flavoring. » The difference between a teaspoon of imitation vanilla and a tablespoon of pure extract is the difference between a vanilla-adjacent cake and a vanilla cake.
Baking powder, 2 and half tsp: Leavening. Fresh baking powder matters — old powder loses potency and the cake will not rise properly. Test it by dropping a teaspoon into hot water. It should bubble actively. If it does not, replace it.
Fine sea salt, 1 tsp: Flavor amplifier. Salt makes vanilla taste more like vanilla. It is present in the cake and should be present in the frosting.
For the frosting — vanilla buttercream: 1 cup unsalted butter room temperature, 3 and half cups powdered sugar sifted, 3 tbsp heavy cream, 1 tbsp pure vanilla extract, pinch of salt. Beat until pale and fluffy.
How to Make It
- Brown the butter. Melt butter in a light-colored saucepan over medium heat, stirring occasionally. It will foam, then subside, then develop brown specks at the bottom and a nutty aroma. Pull it immediately at that point — it continues to cook off heat. Pour into a bowl and cool to room temperature. Do not skip the cooling step.
- Preheat the oven to 350°F. Grease and flour two 9-inch round cake pans. Line the bottoms with parchment circles. Both the grease and the parchment are necessary — one without the other is insufficient.
- Whisk dry ingredients. Combine cake flour, baking powder, and salt in a medium bowl. Whisk thoroughly to distribute the leavening evenly.
- Whisk cooled brown butter and sugar in a large bowl until combined. The mixture will look grainy — this is correct. Brown butter does not cream the way solid butter does.
- Add eggs and yolks one at a time, whisking fully after each. Add vanilla. The mixture should look smooth and slightly glossy.
- Combine milk and sour cream in a small bowl or measuring cup. Stir until uniform.
- Alternate adding dry ingredients and milk mixture to the butter mixture — three additions of dry, two of wet, beginning and ending with dry. Stir by hand or on the lowest mixer speed. Mix only until just combined after each addition. Overmixing at this stage develops gluten and toughens the crumb.
- Divide batter evenly between prepared pans. A kitchen scale produces even layers. Tap pans twice on the counter to release air bubbles.
- Bake 30–35 minutes until the top springs back when lightly pressed and a toothpick inserted in the center comes out with a few moist crumbs. The edges will have pulled slightly from the sides of the pan.
- Cool in pans 15 minutes, then invert onto a wire rack. Cool completely before frosting — two hours minimum. Overnight is fine and produces a slightly easier cake to frost.
- Make the buttercream. Beat butter on high for three minutes until pale. Add powdered sugar one cup at a time, alternating with cream. Add vanilla and salt. Beat on high for two additional minutes until light and fluffy.
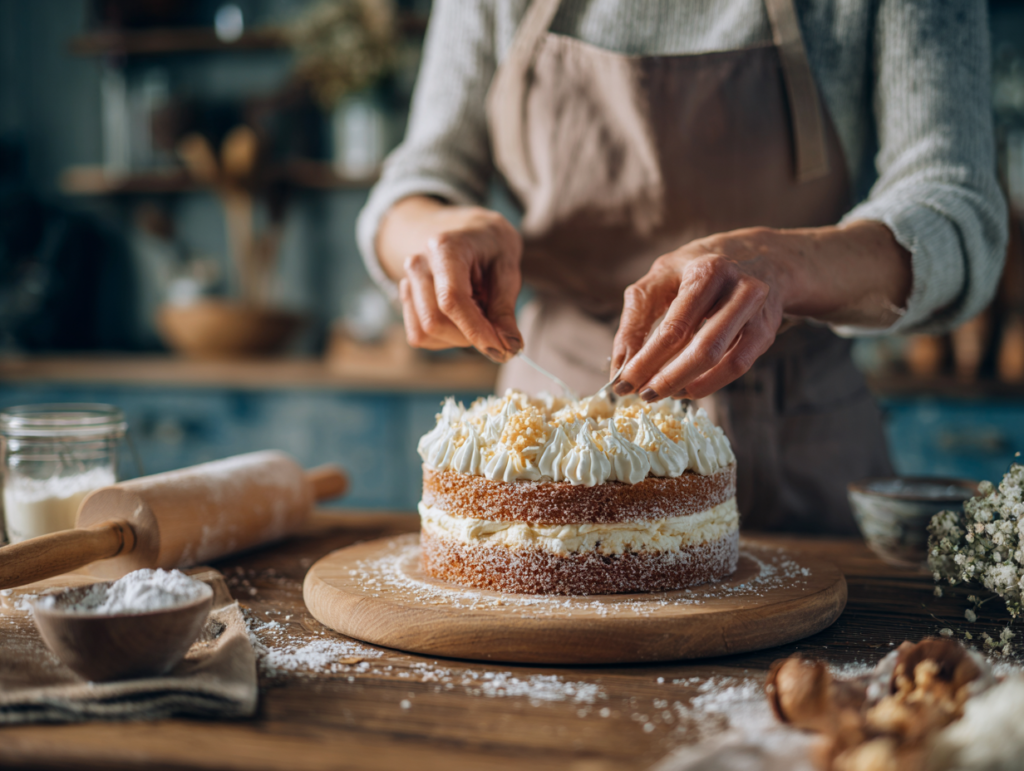
- Frost and assemble. Apply a thin crumb coat first, refrigerate fifteen minutes, then apply the final layer.
A Few Things Worth Knowing
Brown butter cannot be rushed. Medium heat, light-colored pan, constant presence. The window between browned and burned is under a minute. Pull it the moment the butter smells nutty and the foam subsides to reveal amber-colored milk solids at the bottom.
This step is easy to skip. Don’t: the crumb coat. A thin first layer of buttercream traps loose crumbs and gives the final coat a clean surface to adhere to. Fifteen minutes in the refrigerator is all it needs to set. The difference in the final appearance is significant.
Cake flour makes a real difference in this vanilla cake recipe. The lower protein content means less gluten development, which means a more tender crumb. If you have always used all-purpose for vanilla cake, baking this version side by side would settle the question permanently.
The result is better the next day. The brown butter flavor deepens overnight as the fat compounds settle into the crumb. Bake the cake the day before the occasion and frost it the morning of.
Sift the powdered sugar for the buttercream. Unsifted powdered sugar produces a grainy frosting that does not smooth properly. Thirty seconds of sifting produces a frosting that is noticeably silkier.
Room temperature ingredients are the difference between a smooth batter and a broken one. Cold eggs and cold milk cause the fat in the brown butter to seize and separate. Take everything out of the refrigerator thirty minutes before you begin.
How to Serve It
At room temperature. Refrigerated buttercream is dense and waxy. Pull the cake out at least forty-five minutes before serving.
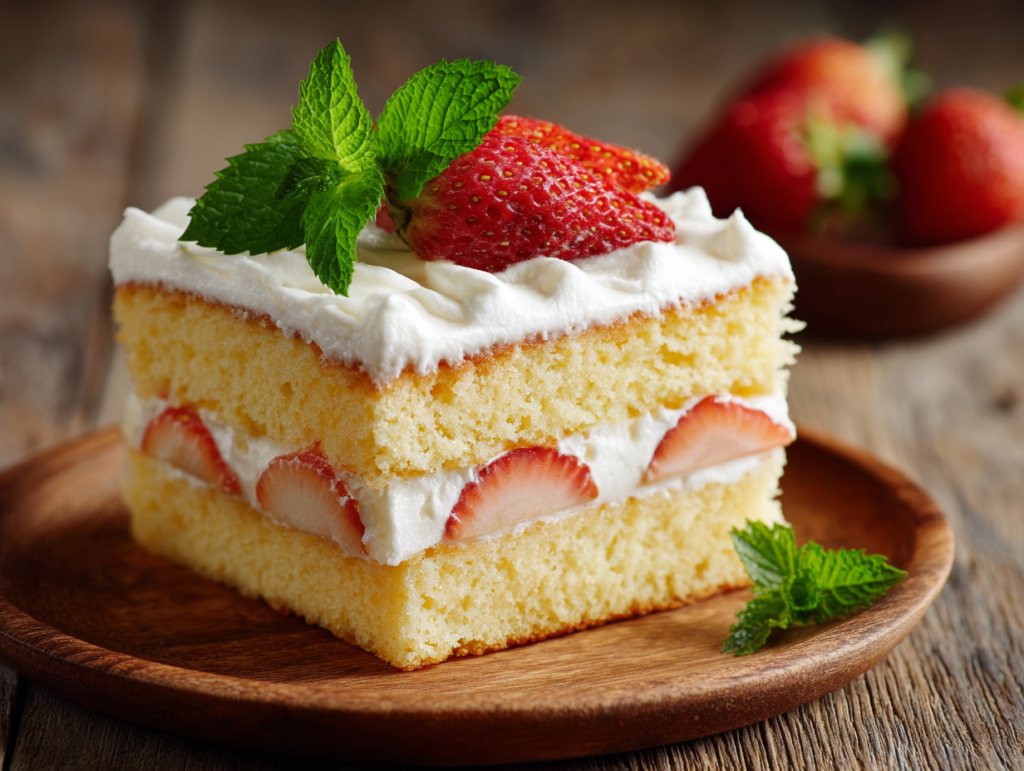
Fresh berries alongside — strawberries, raspberries, or blueberries — provide acid contrast that makes the vanilla read as cleaner and brighter.
A thin layer of good raspberry jam between the cake layers before frosting adds moisture and a quiet tartness that works against the sweetness of the buttercream without announcing itself.
For presentation: a smooth final coat of buttercream and nothing else reads as more considered than over-decorated. A few fresh flowers or a scatter of flaky sea salt on top is sufficient.
Drink: black coffee alongside, which cuts through the richness of the brown butter and buttercream. Earl Grey tea serves the same function with a different character. A glass of cold whole milk if the occasion is informal.
Worth Noting Nutritionally
Vanilla cake is a dessert. Its nutritional profile reflects that honestly. Eggs contribute protein and fat-soluble vitamins. Butter contributes saturated fat. The additional yolks in this recipe add cholesterol relative to a standard vanilla cake — a factual note, not a reason for concern in typical serving quantities.
For a lighter crumb with less fat, replace half the brown butter with neutral oil — the texture will be moister but less rich, and the brown butter flavor will be present but quieter. The trade is real and worth knowing before making it.
For gluten-free preparation, a one-to-one gluten-free flour blend substitutes for the cake flour with a slight texture difference — slightly denser, less tender. The flavor from the brown butter and extra yolks remains fully intact.
For dairy-free, replace butter with a high-fat vegan butter — brown it the same way, watching carefully as the milk solids in vegan butter behave slightly differently. Replace milk with oat milk and sour cream with full-fat coconut cream. The result is close; the brown butter character is somewhat reduced.
A Few Questions
Why does this vanilla cake recipe use brown butter instead of creamed butter? Creamed butter incorporates air into the batter through the creaming process, which creates lift. This recipe uses baking powder for lift instead, which allows the butter to be browned and used in its liquid state. The trade is between a slightly different rise mechanism and a significantly more complex butter flavor. The extra yolks compensate for any richness lost by not creaming.
My cake came out dense. What went wrong? Three likely causes in order of probability: overmixing the batter after adding the flour, under-measuring the baking powder or using old baking powder that has lost potency, or baking in an oven that runs cooler than the dial indicates. An oven thermometer is the most useful baking tool most home bakers do not own — a twenty-five degree discrepancy is common and affects every recipe.
Can I make this as cupcakes instead of a layer cake? Yes. Fill standard cupcake liners two-thirds full and bake at 350°F for 18–20 minutes. Begin checking at 17 minutes — the toothpick test applies the same way. The brown butter flavor is actually more concentrated in the smaller format. Yield is approximately 24 standard cupcakes from this recipe.
How do I store the finished cake? At room temperature under a cake dome or in an airtight container for up to three days — the sour cream keeps it from drying out over that window. For longer storage, wrap unfrosted layers tightly in plastic and freeze for up to three months. Thaw overnight in the refrigerator still wrapped, then bring to room temperature before frosting. Do not refrigerate a frosted cake unless the event requires it — cold changes the buttercream texture and the crumb in ways that are both noticeable and unnecessary for short-term storage.
Make it once with the changes. The difference will be clear.