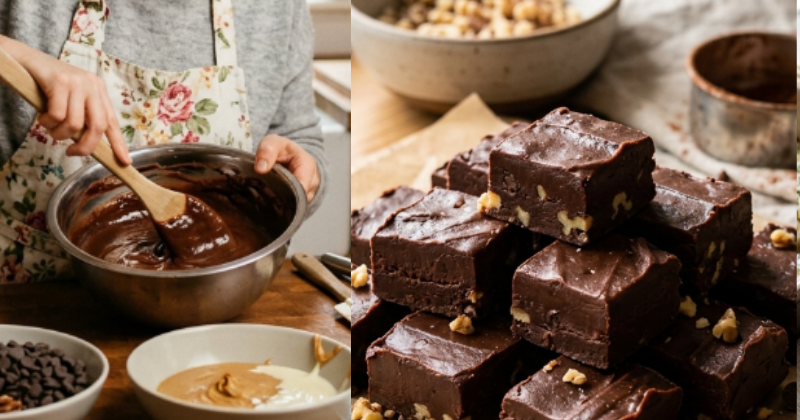
Fudge does not require a candy thermometer or a complicated method. It requires patience and good chocolate. Start there and most things fall into place.
These five chocolate fudge recipes cover the range — from a three-ingredient version that takes twenty minutes to a layered preparation worth saving for company. Each one is built for summer: made indoors, chilled in the refrigerator, and served cold when the heat outside makes anything baked feel like too much work.
What Makes It Worth Making
- The texture is the point. Dense, smooth, and clean at the break.
- Fudge stores well for weeks and travels without complaint.
- Cold fudge in summer holds its shape where warm desserts collapse.
- The ratios are forgiving. These are recipes that work even if you are not paying close attention.

Recipe 1: Classic Three-Ingredient Chocolate Fudge
Prep time: 5 minutes | Chill time: 2 hours | Total time: 2 hours 10 minutes | Servings: 25 small squares
The baseline. Once you know this version, the others make sense.
The Ingredients
Dark chocolate chips — 3 cups (about 510g) The primary flavor. Use 60% cacao or higher. Lower cacao percentages produce a sweeter, softer result. Both work, but the flavor is less complex.
Sweetened condensed milk — 1 can (14 oz) Structure and sweetness in one ingredient. It binds the chocolate and sets the fudge without requiring a cooked sugar syrup.
Unsalted butter — 2 tablespoons Added at the end for gloss and a slightly softer texture. Salted butter works and adds a mild contrast — worth trying.
How to Make It
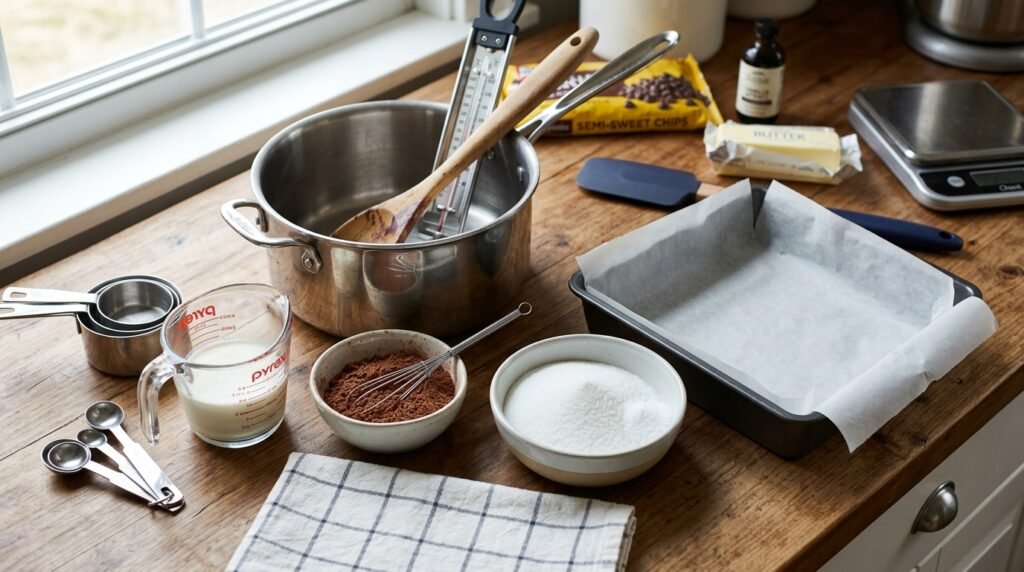
- Line an 8×8-inch pan with parchment, leaving overhang on two sides for lifting.
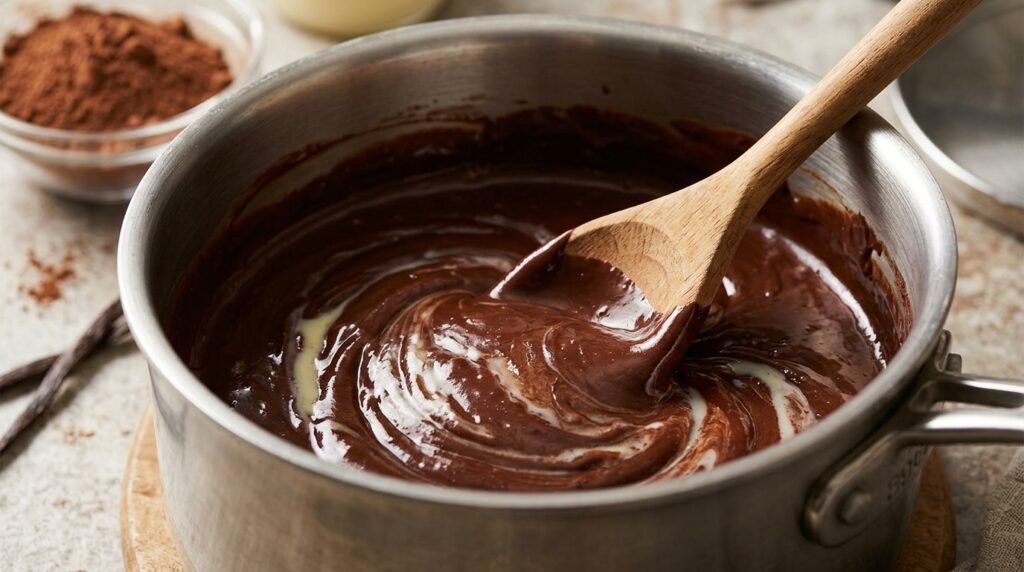
- Combine the chocolate chips, condensed milk, and butter in a medium saucepan over low heat.
- Stir constantly until the chocolate is fully melted and the mixture is smooth and uniform — about 5–7 minutes. Do not rush the heat.
- Pour into the prepared pan. Smooth the top with a spatula.
- Refrigerate uncovered for at least 2 hours, or until fully set.
- Lift out using the parchment. Cut into squares with a warm knife.
Recipe 2: Dark Chocolate Sea Salt Fudge
Prep time: 10 minutes | Chill time: 3 hours | Total time: 3 hours 15 minutes | Servings: 25 squares
The same structure as Recipe 1 with one deliberate adjustment: the salt is a finish, not a mix-in. It changes how the fudge reads entirely.
The Ingredients
70% dark chocolate, chopped — 400g Chopped from a bar rather than chips. Bar chocolate melts more cleanly and produces a smoother texture.
Sweetened condensed milk — 1 can (14 oz) Same role as above.
Unsalted butter — 2 tablespoons Keeps the set soft enough to cut without cracking.
Flaky sea salt — 1 teaspoon, for finishing Maldon or fleur de sel. Added to the top after pouring, before chilling. It stays on the surface and hits the palate first.
Vanilla extract — 1 teaspoon Rounds the bitterness of the dark chocolate without sweetening it.
How to Make It
- Line an 8×8 pan with parchment.
- Melt the chocolate, condensed milk, and butter over low heat, stirring constantly until smooth. Add the vanilla and stir to combine.
- Pour into the pan. Smooth the surface.
- Scatter the flaky salt evenly over the top. Do not press it in.
- Refrigerate 3 hours minimum. The higher cacao content takes longer to set fully than milk chocolate.
- Cut with a warm knife, wiping between cuts for clean edges.
Recipe 3: Milk Chocolate Peanut Butter Swirl Fudge
Prep time: 15 minutes | Chill time: 3 hours | Total time: 3 hours 20 minutes | Servings: 30 squares
Two flavors that have been working together for a long time. The swirl is visual as much as it is functional.
The Ingredients
Milk chocolate chips — 2 cups Sweeter and softer than dark. Milk chocolate fudge sets at a slightly softer texture, which complements the peanut butter layer.
Sweetened condensed milk — 1 can (14 oz) Divided: ¾ for the chocolate, ¼ for the peanut butter layer.
Creamy peanut butter — ½ cup Commercial peanut butter (such as Jif or Skippy) sets more predictably than natural varieties. Natural peanut butter can separate and create an oily layer.
Powdered sugar — 2 tablespoons Stiffens the peanut butter layer slightly so the swirl holds definition rather than sinking.
Butter — 1 tablespoon
How to Make It
- Line a 9×9 pan with parchment.
- Melt chocolate chips, butter, and ¾ of the condensed milk over low heat until smooth. Pour into the pan and spread evenly.
- In a separate small saucepan, warm the peanut butter and remaining condensed milk over low heat. Stir in the powdered sugar until smooth.
- Drop spoonfuls of the peanut butter mixture over the chocolate layer.
- Drag a knife or skewer through the pan in slow, deliberate figure-eights to create the swirl. Eight to ten passes is enough. More than that muddies the pattern.
- Refrigerate 3 hours. Cut into small squares — this version is rich.
Recipe 4: White Chocolate Raspberry Fudge
Prep time: 15 minutes | Chill time: 3 hours | Total time: 3 hours 20 minutes | Servings: 25 squares
White chocolate fudge is a different animal. Sweeter, more delicate, and better with a sharp counterpoint. Raspberry is the right one.
The Ingredients
White chocolate chips or chopped white chocolate — 3 cups Quality matters more here than in dark chocolate versions. Cheap white chocolate contains very little cocoa butter and sets poorly. Look for cocoa butter listed in the ingredients.
Sweetened condensed milk — 1 can (14 oz)
Butter — 1 tablespoon
Freeze-dried raspberries — ¼ cup, crushed Not fresh. Fresh raspberries introduce moisture that prevents the fudge from setting. Freeze-dried raspberries provide concentrated flavor and color without the water content.
Vanilla extract — 1 teaspoon
How to Make It
- Line an 8×8 pan with parchment.
- Melt the white chocolate, condensed milk, and butter over very low heat, stirring constantly. White chocolate scorches faster than dark — keep the heat low and stir without stopping.
- Remove from heat. Add vanilla and half the crushed raspberries. Stir to combine.
- Pour into the pan. Scatter the remaining raspberries over the top.
- Refrigerate at least 3 hours. White chocolate fudge is softer than dark and benefits from a longer chill.
- Cut into small squares. Store refrigerated.
Recipe 5: Double Chocolate Layered Fudge
Prep time: 25 minutes | Chill time: 4 hours | Total time: 4 hours 30 minutes | Servings: 30–35 squares
Two layers, set separately, cut to show the cross-section. This is the version worth making when presentation matters.
The Ingredients
Dark chocolate chips — 1½ cups Milk chocolate chips — 1½ cups Sweetened condensed milk — 2 cans (14 oz each) Butter — 2 tablespoons, divided Vanilla extract — 1 teaspoon per layer
How to Make It
- Line a 9×13 pan with parchment.
- Make the dark chocolate layer first: melt 1½ cups dark chips, one can condensed milk, and 1 tablespoon butter over low heat until smooth. Add vanilla. Pour into the pan and spread evenly.
- Refrigerate 1 hour until the first layer is set but still slightly tacky on top. This helps the layers bond.
- Make the milk chocolate layer: repeat the process with the remaining ingredients. Pour gently over the dark layer. Smooth carefully without disturbing the layer beneath.
- Refrigerate 3 hours minimum, or overnight.
- Cut into rectangles to show the two layers cleanly. A warm knife is essential here — cold fudge cut with a cold knife cracks at the layer seam.
A Few Things Worth Knowing
The knife temperature matters at every cut. Run the blade under hot water and wipe dry before each cut. Cold knives compress the fudge rather than slicing through it, producing uneven edges and cracked surfaces. This step is easy to skip. Don’t.
The result is better cold. All five chocolate fudge recipes are served from the refrigerator. Room-temperature fudge softens, loses its clean edge, and becomes difficult to handle in warm weather. Keep it cold until the moment it is served.
Low heat throughout is not a suggestion. Chocolate scorches before it looks like it has. Once the bottom of the pan caramelizes, the flavor of the entire batch is affected and cannot be corrected. Stir constantly and keep the flame lower than feels necessary.
Condensed milk is not the same as evaporated milk. They look identical in the can. Evaporated milk does not contain sugar and will not produce the same result. Check the label before opening.
Chill time is not negotiable. Underset fudge does not firm up at room temperature. If it has not set after the minimum chill time, return it to the refrigerator for another hour before attempting to cut it.
Chopped chocolate bar melts more smoothly than chips. Chips contain stabilizers that slightly resist melting. For Recipes 1 and 3 it makes little difference. For the white chocolate and layered versions, the smoother melt of chopped bar chocolate improves the final texture noticeably.
How to Serve It
Cut into small squares and arrange on a flat plate or wooden board. Fudge is rich — smaller pieces serve more people and allow for tasting across varieties if you have made more than one.
For a summer gathering, set the fudge out cold and keep it in the shade. A small plate with a few squares per person works better than a communal board in warm weather.
The dark sea salt version pairs well with strong espresso or cold brew. The milk chocolate peanut butter works alongside vanilla ice cream, served as a side piece rather than a topping. The white chocolate raspberry is best on its own or with sparkling water and a slice of lemon.
For gifting, stack squares in a small tin lined with parchment. Keep refrigerated until the moment of delivery and note that it stores cold.

Worth Noting Nutritionally
Fudge is a confection. A typical square of about 30g contains 130–160 calories, depending on the recipe, with the majority from sugar and fat. The dark chocolate versions provide modest amounts of iron and magnesium from the cacao content.
For dairy-free preparation, full-fat coconut condensed milk is a functional substitute for sweetened condensed milk and is available in most natural grocery stores. The texture is slightly softer and the flavor carries a mild coconut note. Dairy-free butter and dairy-free chocolate complete the substitution.
There is no low-sugar version of fudge that produces the same result. Sugar is structural in all five of these chocolate fudge recipes — it is not added for flavor alone.
A Few Questions
Why did my fudge not set? The most common causes are insufficient chill time and incorrect condensed milk. Confirm that you used sweetened condensed milk rather than evaporated milk, and that the fudge has been refrigerated for the full time listed in the recipe. If both of those are correct and the fudge is still soft after four hours in the refrigerator, the chocolate-to-condensed-milk ratio may have been off. Return it to the pan, reheat gently, add a small amount of additional melted chocolate, and re-pour. It can usually be recovered.
How long does homemade fudge keep? Stored in an airtight container in the refrigerator, all five of these chocolate fudge recipes keep for two to three weeks. The white chocolate version is the most delicate and is best consumed within ten days. For longer storage, fudge freezes well — wrap individual pieces in parchment, place in a sealed container, and freeze for up to three months. Thaw in the refrigerator overnight.
Can I use baking chocolate instead of chips? Yes, and in most cases it produces a cleaner result. Baking chocolate contains no stabilizers and melts smoothly. Chop it finely before adding to the pan so it melts evenly with the condensed milk. The ratio remains the same — substitute by weight rather than by volume.
Can I add mix-ins like nuts or dried fruit? Yes. Stir them in after removing the pan from heat and just before pouring into the prepared pan. Toasted pecans, walnuts, and dried cherries all work well. Use no more than ½ cup of mix-ins per batch — too many additions change the structural ratio and can prevent the fudge from setting cleanly. Fold gently rather than stirring vigorously, which can cool the chocolate unevenly.
Pick one recipe this week and the rest will follow — these chocolate fudge recipes are the kind that stay in rotation once you have made them once.